Mounted Solar Panels in NSW: Your 2026 Guide
Electricity bills in Sydney have a way of turning a normal evening into a kitchen-table planning session. You open the latest statement, look at how much power the house uses during hot afternoons and cold mornings, and start asking the same questions most homeowners ask. Is the roof suitable? Should the panels sit flush or on tilt frames? Is solar still worth it if feed-in returns aren't what they used to be?
That's usually the point where mounted solar panels stop being a vague idea and become a property decision. Not a trend. Not a badge. A decision about how your roof, your usage pattern, and your long-term plans line up.
Australia has already moved well past the early-adopter stage. By 30 June 2025, 4,154,426 solar panel installations had been completed nationwide, and 43.29% of Australian households had solar panels installed. In 2024, rooftop systems contributed 30,178 GWh to the grid, equal to 12.4% of total national energy generation, according to Green's national solar statistics. That matters because it tells you something simple. Mounted solar panels are now mainstream infrastructure.
For a homeowner in NSW, the primary challenge isn't whether solar is established. It's whether the system is designed properly for your roof and your life. If you're still working out system size, this guide on how many solar panels you need is a useful place to start before getting too deep into mounting choices.
Your First Step Towards Energy Control
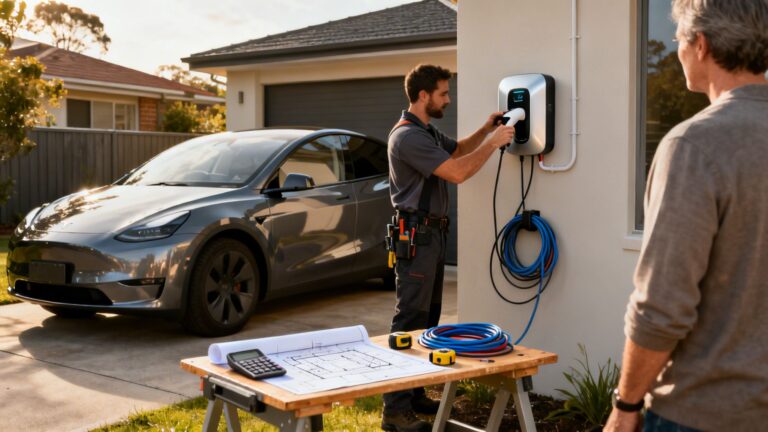
A lot of Sydney households arrive at solar after the same slow build-up. Summer bills spike because the air conditioning runs hard. Winter pushes usage again. Then an EV enters the picture, or someone starts working from home more often, and the old electricity habits no longer fit the household.
Mounted solar panels change that conversation because they put generation on your side of the meter. That's the shift many consumers are really chasing. They want more control over when they use electricity, how much they import from the grid, and how exposed they are to future tariff changes.
Mounted solar works best when it's treated as part of the home, not as an add-on perched on top of it.
In practice, the smartest buyers don't start with panel brand brochures. They start with the roof. Its age, pitch, material, available space, and exposure to shade will decide far more than marketing claims ever will. A north-facing section might be excellent, but a cleaner, simpler layout on another roof plane can still make stronger sense if it reduces complexity and keeps the installation safer.
There's also the question of what “value” means. Some households want the highest annual output they can reasonably fit. Others care more about daytime self-use, future battery readiness, or keeping the installation low-profile and easy to maintain. Those are different jobs, and they don't always point to the same mounting method.
That's why the right guide has to deal with trade-offs clearly. Roof mount versus ground mount. Penetrating fixings versus ballasted systems. Flush arrays versus tilt frames. Good solar design in NSW comes from working through those decisions in the right order.
The Foundation of Your System Mounting Types Explained
Before getting into brackets, rails, and roof penetrations, it helps to separate the three main mounting approaches. Each has a place. Each solves a different site problem. What works beautifully on one property can be the wrong answer on the next.
Roof-mounted systems
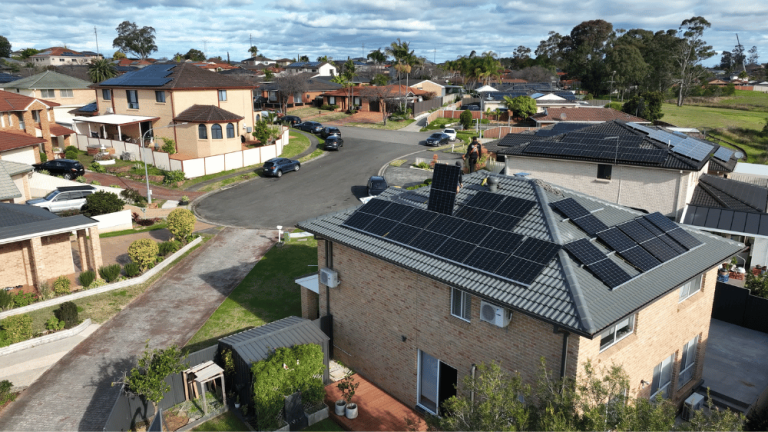
This is the standard choice for most homes in NSW. The array sits on the existing roof structure using rails and fixings designed for the specific roof type. On a metal roof, that may mean direct attachment to structural points. On tile roofs, it usually means carefully lifting tiles, fitting brackets to the structure below, and making sure the weatherproofing is restored properly.
The main advantage is obvious. You're using space you already own, and you're keeping the solar close to the switchboard and the rest of the home's electrical system. For suburban sites with limited yard space, roof mounting is usually the cleanest path.
Ground-mounted systems
Ground-mounted solar panels suit properties where roof space is poor, heavily shaded, too fragmented, or not structurally suitable. They also suit rural and semi-rural blocks where there's room to orient the array more freely.
Ground systems are easier to access for cleaning and maintenance, and they can be positioned to avoid awkward roof geometry. The trade-off is site work. Foundations, trenching, cable runs, and land use all come into play. They also need proper structural thinking below ground, not just above it.
Pole-mounted systems
Pole mounts are less common on standard residential sites, but they can be useful where available ground area is small or where a raised installation helps avoid shading or obstructions. They're more specialised and typically more visible, so they tend to be chosen only when the site has a specific problem that a pole mount solves better than other options.
For many homeowners, they won't be the first recommendation. For the right block, though, they can be very effective.
Solar Panel Mounting Systems at a Glance
| Mounting Type | Pros | Cons | Best For |
|---|---|---|---|
| Roof-mounted | Uses existing roof area, usually simpler cable path, suits suburban homes | Limited by roof shape, pitch, condition, and shading | Most NSW houses and small commercial buildings |
| Ground-mounted | Flexible orientation, easier access for maintenance, avoids roof constraints | Needs land, site works, trenching, and foundations | Large blocks, rural sites, awkward or shaded roofs |
| Pole-mounted | Can lift array above obstructions, useful on constrained sites | More specialised, more visible, not common for standard homes | Niche sites with specific shading or layout issues |
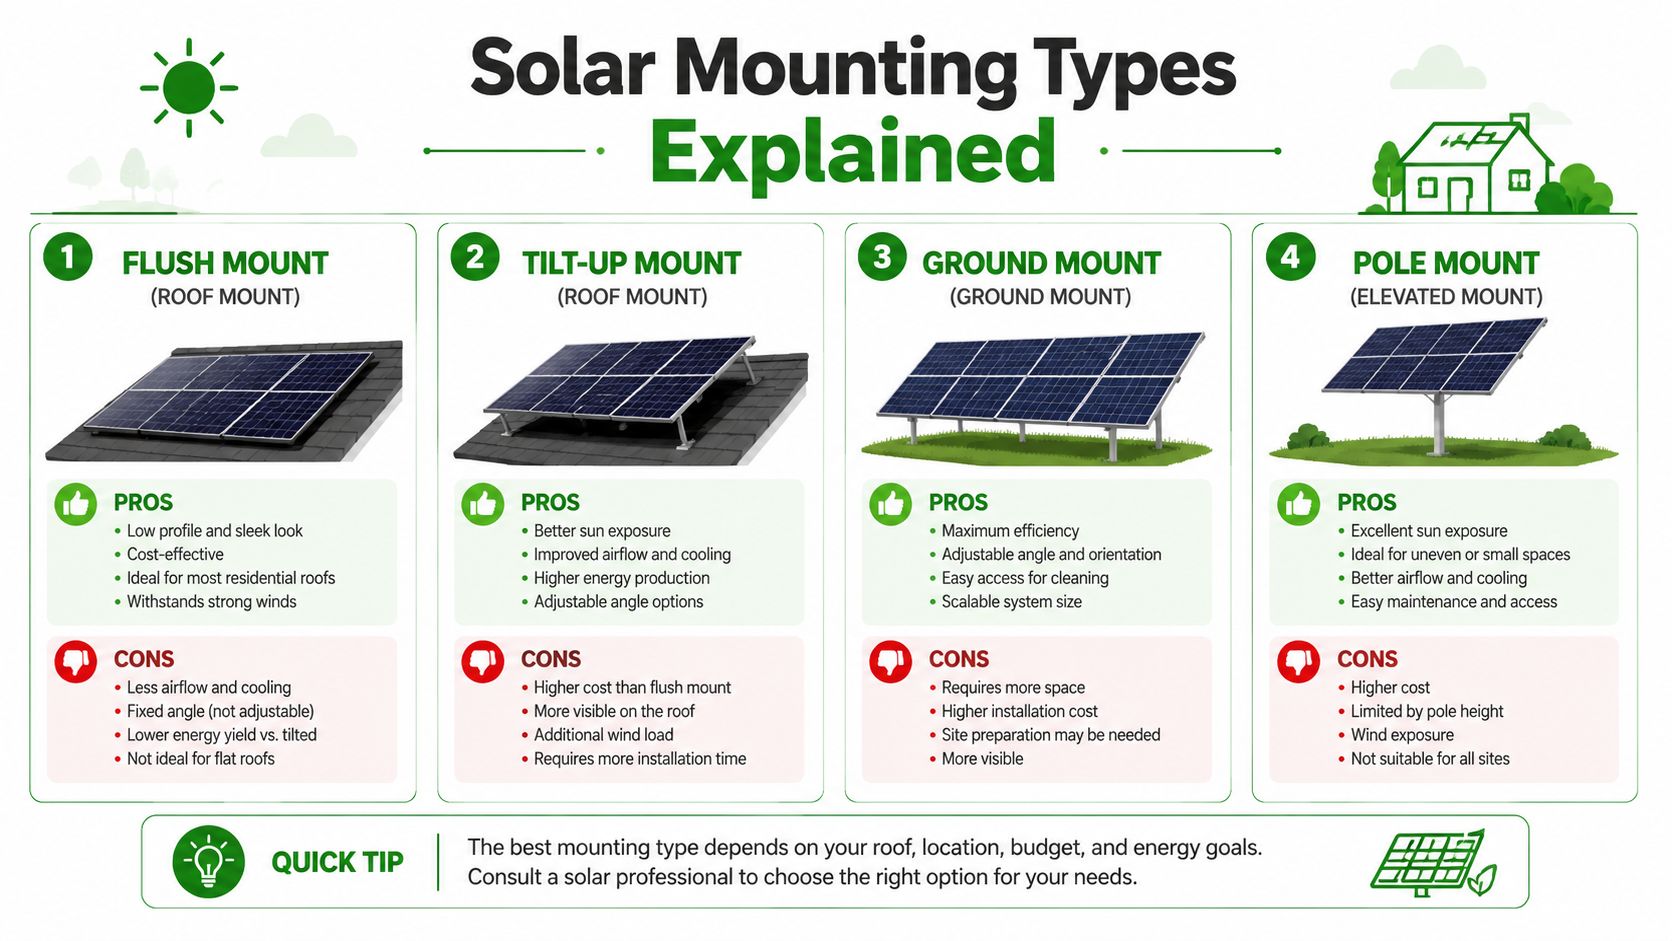
Flush and tilt-up as sub-types
When people talk about mounted solar panels, they often mix up mounting location with mounting style. Flush and tilt-up aren't separate categories from roof or ground. They're sub-types within them. A roof-mounted system can be flush to the roofline or installed on tilt frames. A ground-mounted array can also sit at a chosen angle.
That distinction matters because many arguments about “best” solar mounting are really arguments about style, not location. The better question is always this. What mounting method gives the safest, most durable result on this property?
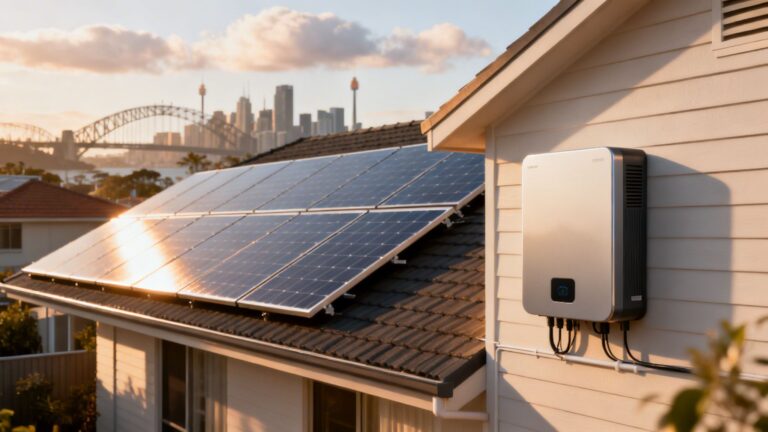
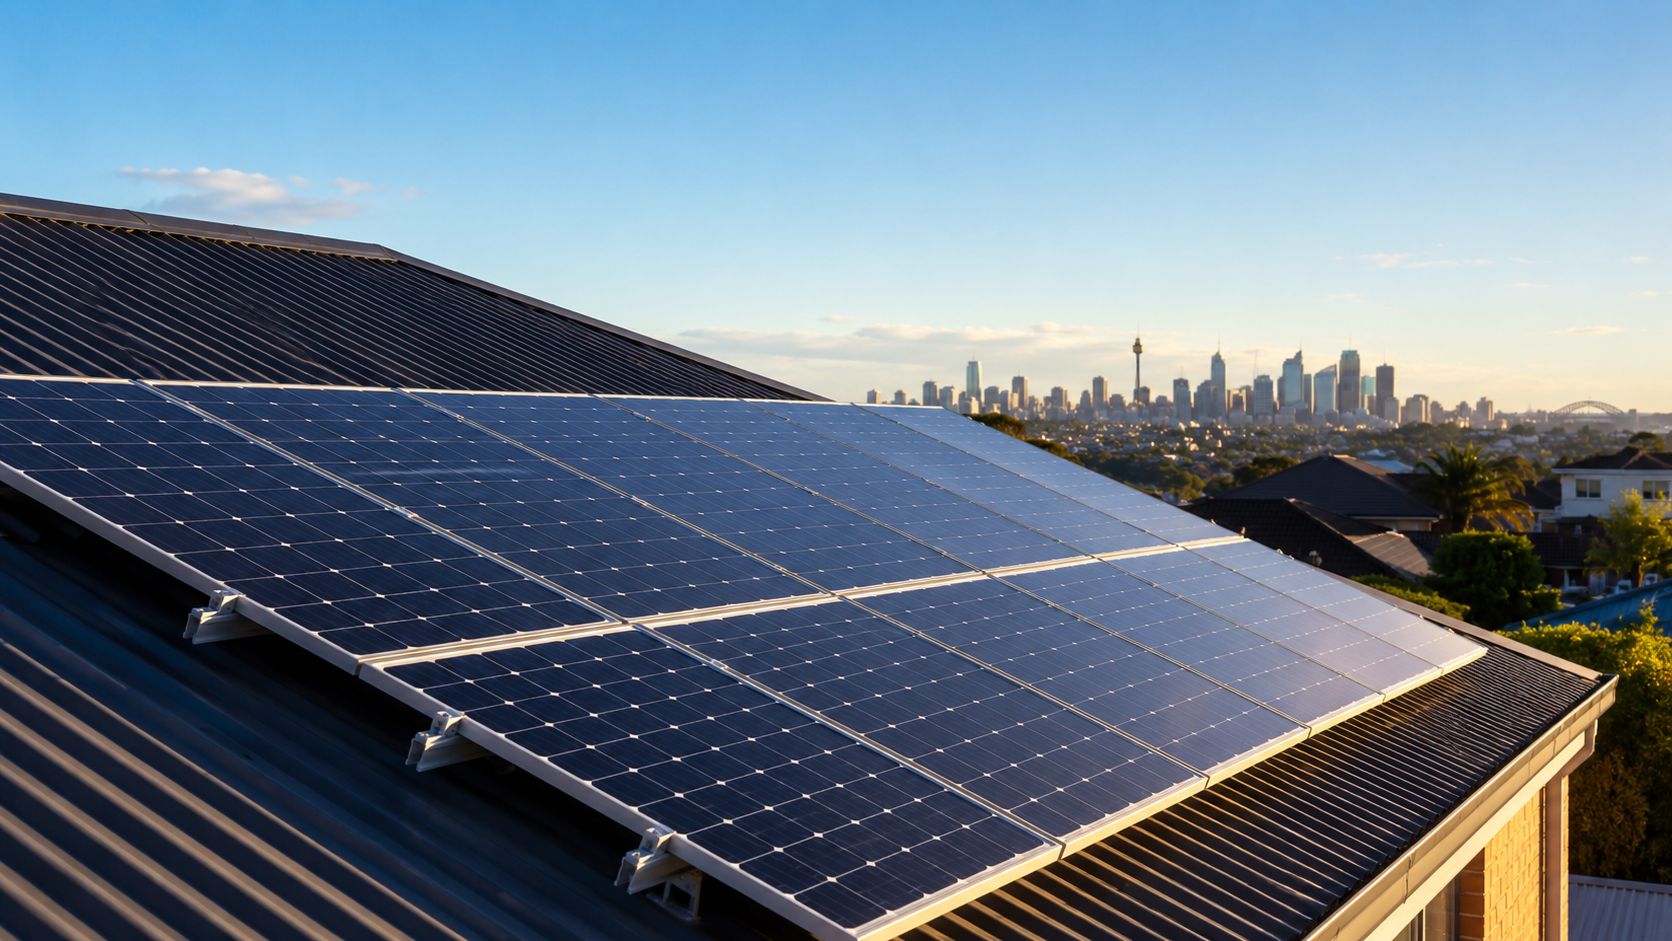
A Deeper Dive Into Roof Mounted Solar Panels
For most Sydney homes, roof-mounted solar panels are the answer. But “roof-mounted” still leaves a lot unsaid. The mounting method affects waterproofing, wind resistance, access, appearance, and long-term serviceability.

Penetrating mounts and ballasted mounts
A penetrating mount fixes the solar racking into the building structure. On pitched residential roofs, that's the normal approach. The key is that the fixing has to land in something structurally meaningful, not just in roof sheeting or a fragile tile. Good installers don't guess. They locate framing, use appropriate brackets and flashings, and treat weather sealing as part of the structural job.
A ballasted mount uses weight rather than roof penetrations to hold the array in place. You'll usually see this approach on flat commercial roofs, not on standard pitched houses. It can reduce the need to penetrate the roof membrane, but it increases the roof load and needs careful structural review. It's not a shortcut. It's a different engineering solution.
If a roof mounting method sounds easier, check what burden it shifts somewhere else. Less penetration can mean more weight. More tilt can mean more wind load.
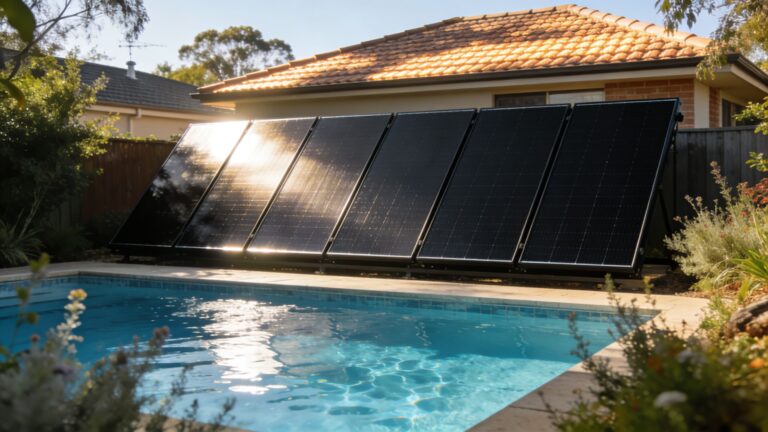
Flush mounting and tilt frames
A flush-mounted system follows the roof pitch. It sits lower, looks tidier, and usually keeps wind exposure lower than a tilt-framed array. On many homes, that makes flush mounting the practical winner even if the roof pitch isn't mathematically perfect.
A tilt-frame system changes panel angle independently of the roof. This can make sense on flat or very low-slope roofs where a flush layout would leave panels too flat for drainage, cleaning, or desired generation shape. It can also help solve orientation issues on some sites.
The catch is economics, not just physics. Australian market conditions now put more emphasis on self-consumption because daytime solar value is increasingly affected by midday wholesale price suppression and weaker export returns, as explained in Enerdrive's discussion of flat versus angled mounting. That changes the decision. The question isn't merely whether tilt can increase output. It's whether the extra hardware, added wind-rating demands, roof risk, and row-spacing issues truly improve the outcome for the owner.
Where microinverters fit into the discussion
Mounting and electrical design often interact. If a roof has multiple faces or partial shading at different times of day, the mounting layout may benefit from module-level control rather than forcing the whole array into one compromise. Homeowners comparing these setups often end up reviewing solar micro inverter options alongside the mounting design because the two decisions can support each other.
What usually works best on homes
On a typical NSW house, the most durable choice is often the least dramatic one. A well-secured flush array on a sound roof, with a clean cable path and room for airflow, usually beats a more complicated layout that only looks better on paper. Tilt frames have their place. They're just not automatically the smart move.
Key Site and Structural Considerations for NSW Homes
A solar quote is only as good as the site assessment behind it. Mounted solar panels don't fail because sunlight disappears. They fail because someone ignored the roof, the structure, or the local wind conditions.
Roof condition comes first
If the roof is nearing the point where major repair or replacement is likely, installing solar first can create an avoidable headache. Panels may need to come off later so roof work can happen properly. On tiled roofs, broken or brittle tiles can also turn a routine install into a repair job if the installer isn't careful. On metal roofs, corrosion, old fasteners, or poorly maintained sheets can weaken what looks fine from the driveway.
The roof material matters too. Terracotta tile, concrete tile, corrugated steel, and clip-lock metal roofs each need different attachment hardware and different handling. A good design respects the roof you have, not the roof the standard package assumes.
Wind loading is not optional
For Australian rooftop PV, the key engineering constraint is often structural loading, especially wind action. Under AS/NZS 1170.2, wind assessment has to consider site wind speed, terrain, height, shielding, and roof geometry. In higher-wind coastal areas, that can increase fixing density and require stronger racking, as outlined in this explanation of structural requirements for solar panels.
That's why mounted solar panels should be treated as a roof-load system, not just an electrical upgrade. The racking has to resist uplift and transfer loads safely into the building structure. The layout also needs to preserve drainage, maintain safe cable routing, and avoid creating service problems later.
A panel doesn't need to be heavy to put a lot of force on a roof. Wind uplift is usually the issue that separates careful design from cheap design.
Ground systems still need structural thinking
When a property suits a ground-mounted array, some owners assume the hard part is over because the roof is no longer involved. It isn't. Footings and support posts still depend on site conditions. If you're comparing a ground array, it helps to understand proper soil bearing capacity for foundations because foundation design starts with what the ground can support.
Homeowners with tiled roofs who want a better sense of attachment methods and roof-specific details can also review solar solutions for tile roofs before asking for a final design.
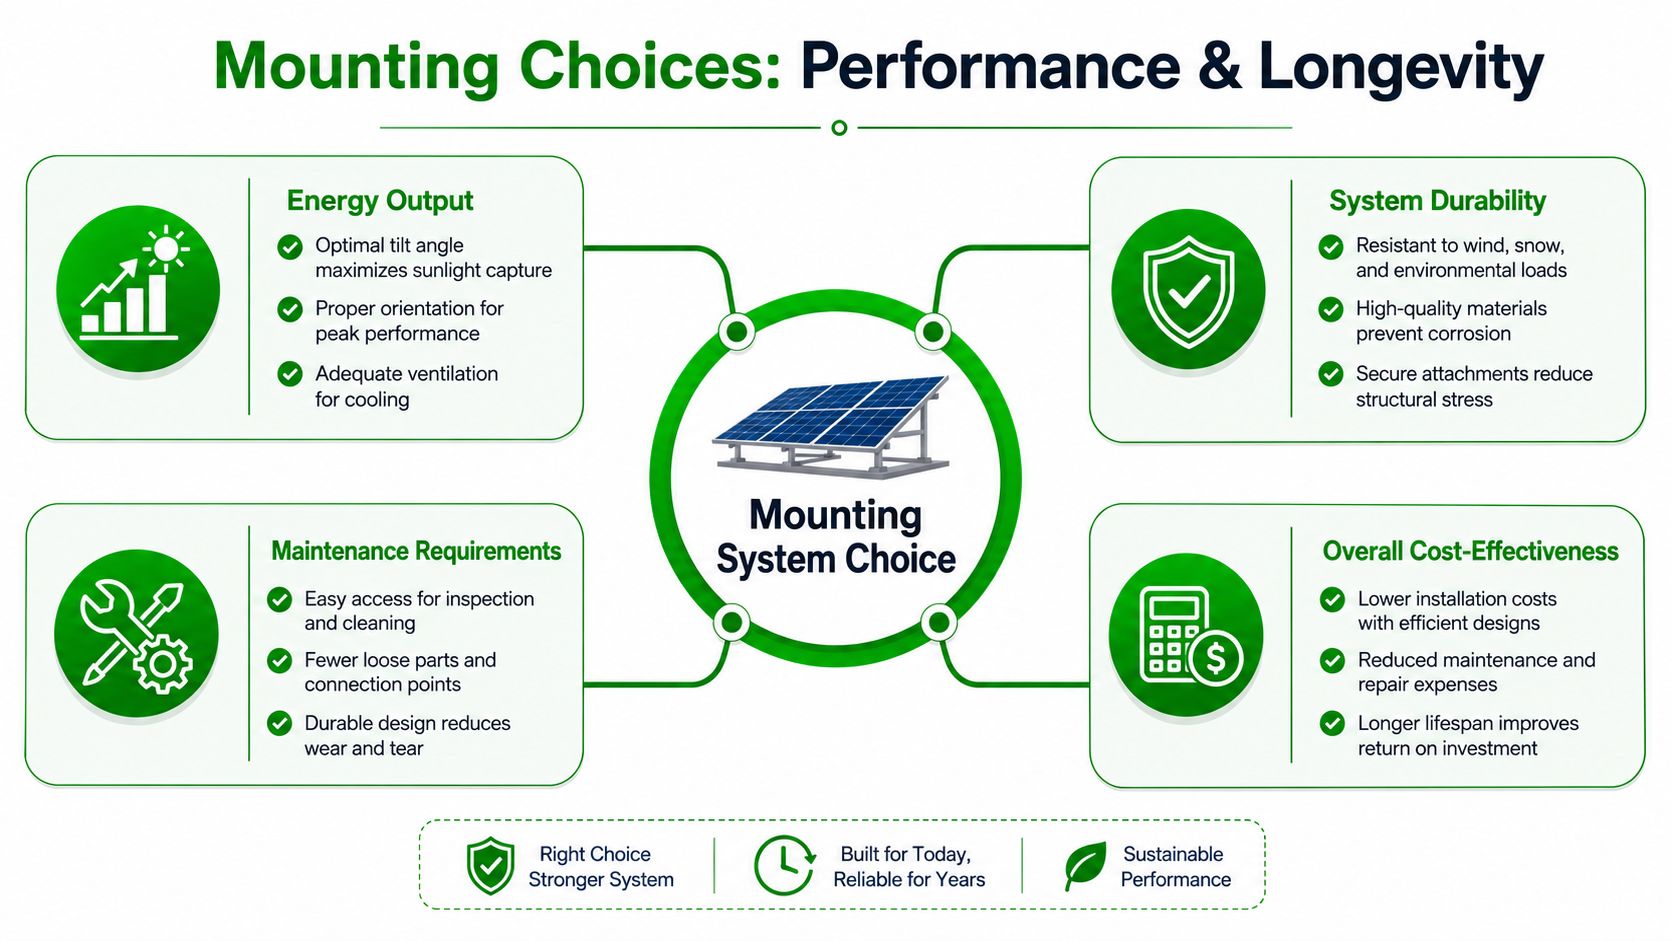
How Mounting Choices Impact Performance and Longevity
Once the system is secure, the next question is how well it will keep performing over time. Mounting decisions influence production in three ways. They affect orientation, tilt, and airflow.
Orientation and roof fit
In Australia, north-facing arrays generally perform best, but the best system design still depends on roof pitch and shading. Guidance summarised by EnergySage on solar orientation and angle notes that the difference between a “perfect” angle and a “good enough” one is often smaller than people expect.
That matters because some homeowners chase a theoretical ideal that creates practical problems. A lower-profile array on a suitable roof plane can deliver stronger real-world value if it keeps the install simpler, reduces wind exposure, and uses the roof more effectively.
Cooling and panel spacing
Mounted solar panels need room to breathe. Technical installation specifications commonly use 500 to 1000 VDC string configurations, and they also stress physical spacing. A general rule is to allow about an inch of separation between roof panels to support airflow, with larger spacing often needed in ground-mounted rows to avoid self-shading, according to this technical solar PV installation appendix.
Heat matters because hotter modules operate less efficiently. In NSW summers, that airflow gap helps panels run cooler, sheds water more effectively, and gives technicians better access for inspection and maintenance.
Longevity is built into the layout
A mounting system can look solid on day one and still cause trouble later if the array is packed too tightly, blocks drainage paths, or makes future servicing awkward. The better installs leave space where it's needed and avoid forcing the roof to do jobs it wasn't designed to do.
A simple way to judge long-term value is to ask whether the mounting layout helps or fights the building. When the rails, fixings, cable routes, and panel spacing all work with the roof geometry, the system usually ages better.
Good mounting doesn't just support output. It supports access, cooling, drainage, and the kind of maintenance reality every system eventually faces.
For homeowners trying to compare module choices alongside mounting design, a solar panel efficiency comparison can help show where premium panel performance matters and where layout decisions matter more.
The Installation Journey From Permitting to Power On
Most homeowners are comfortable with the idea of solar until they start thinking about the process. The easiest way to reduce that stress is to understand the sequence. Good projects follow a disciplined order.
Design before paperwork
Everything starts with a proper site review. Roof measurements, switchboard location, shading patterns, roof material, and access all feed into the design. This is also where the installer decides whether the best answer is a simple flush array or something more specialised.
Electrical design matters early, not late. In Australia, technical specifications commonly place PV string configurations in the 500 to 1000 VDC range, so the array layout and inverter pairing need to be resolved before the job moves ahead. If you want a clearer picture of the local process, this guide to solar panel installation in NSW is a useful reference.
Approvals and preparation
Once the design is settled, the project moves into approvals and scheduling. Depending on the site, that can include network approvals, equipment ordering, safety planning, and confirming exactly how the roof will be accessed and protected on installation day.
This stage also filters out weak installers. If the team can't explain how they handle approvals, cable routes, isolation points, and roof protection, they probably haven't thought enough about the job.
Installation day and commissioning
The installation itself usually looks faster than the planning behind it. Rails go in first. Then panel mounting, inverter installation, cable management, isolators, and final electrical work. The detail many owners don't notice, but should care about, is spacing. A small separation between roof panels, around an inch, is a common rule for airflow and cooling in Australian conditions, based on the technical appendix cited earlier.
A proper handover matters just as much as the physical install. The homeowner should leave with a clear understanding of shutdown procedure, app monitoring, maintenance expectations, and who to call if something doesn't look right.
After-care is part of the install
The best systems are easy to live with because the installer planned for service access from the start. That includes sensible panel placement, tidy cable routing, and documentation that doesn't vanish once the invoice is paid.
A solar installation shouldn't feel mysterious after power-on. If it does, the handover wasn't done properly.
Choosing Your Solar Partner in Sydney and NSW
The installer you choose will have more impact on your result than the brochure headline on the panels. Mounted solar panels depend on design judgement, roof experience, electrical discipline, and follow-through. That's what separates a system that still feels like a smart decision years later from one that becomes a source of avoidable maintenance calls.
What to ask before you sign
Start with the team itself. Ask who designs the system, who installs it, and whether the people on the roof are licensed and accountable. Ask how they assess roof condition, how they handle tile or metal roof details, and what they do if they uncover a structural concern mid-job.
Then ask sharper questions.
- Roof-specific method: How will you mount this system on my exact roof type?
- Wind and structure: How do you assess fixing points and local wind exposure?
- Future readiness: Can this layout support a later battery or EV charger without messy rework?
- After-care: Who responds if there's a fault, monitoring issue, or roof concern after installation?
A good solar company won't rush past those questions. They'll welcome them.
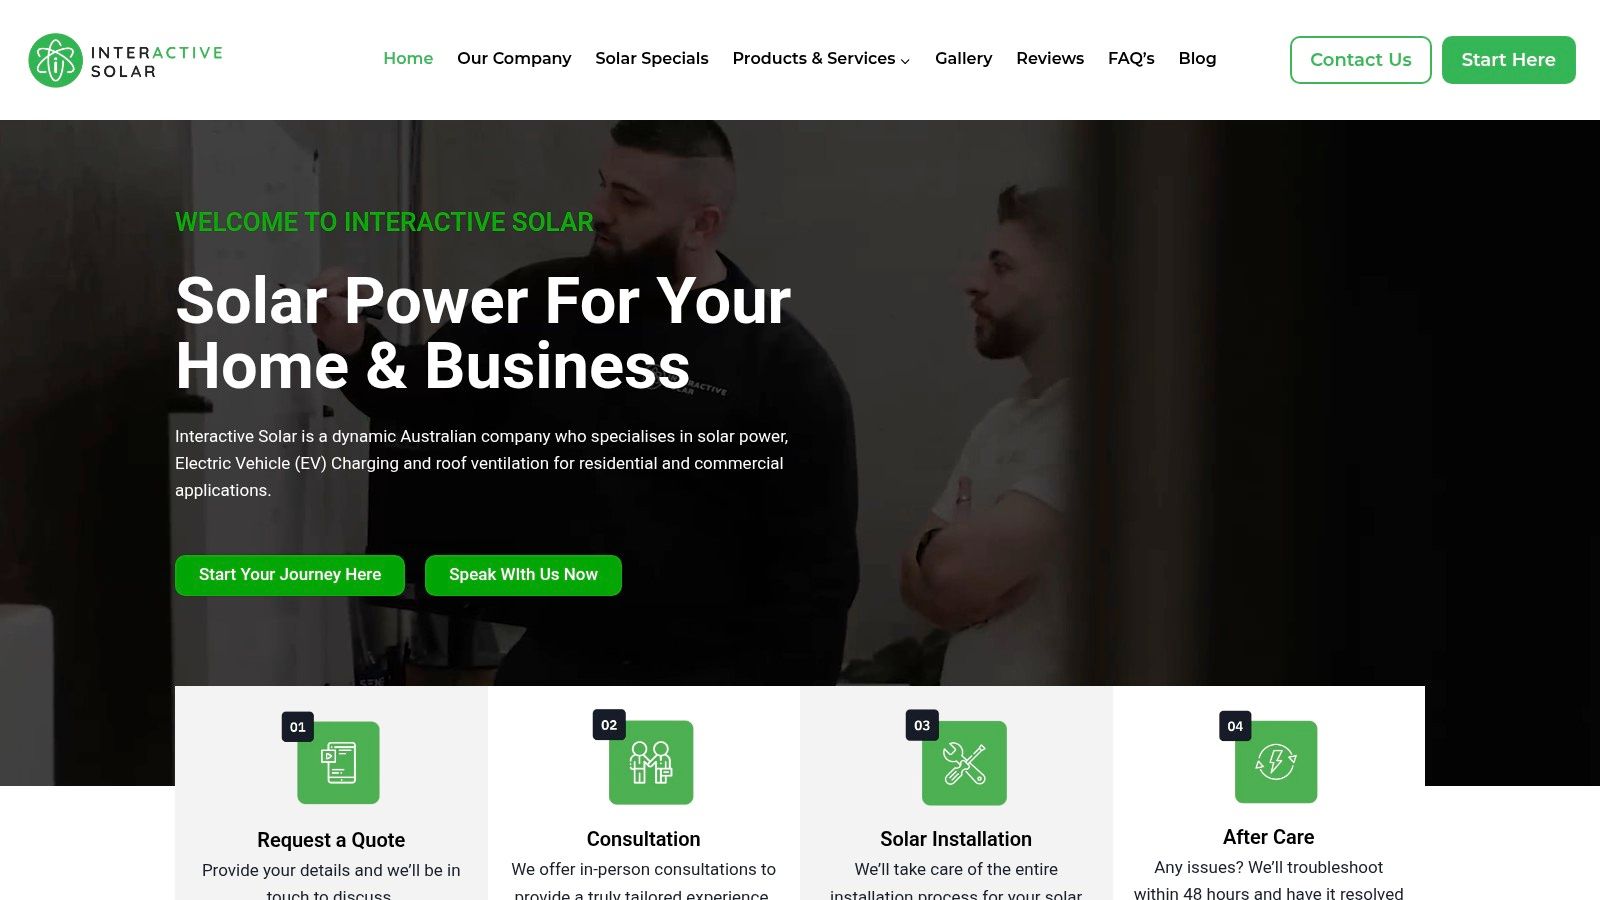
There's also value in seeing how a provider presents its work and support. This snapshot gives a sense of how one NSW-based installer approaches the customer journey.
The strongest choice is usually a local team with a real operating base, clear accountability, and enough experience to design around site constraints instead of pretending every roof is the same. That matters even more if you're considering solar batteries or EV charging later, because future-proofing starts at the first install, not the second one.
If you want specific advice on mounted solar panels, batteries, EV chargers, or roof-specific system design, Interactive Solar can help you plan a setup that fits your property, your usage, and your long-term energy goals.